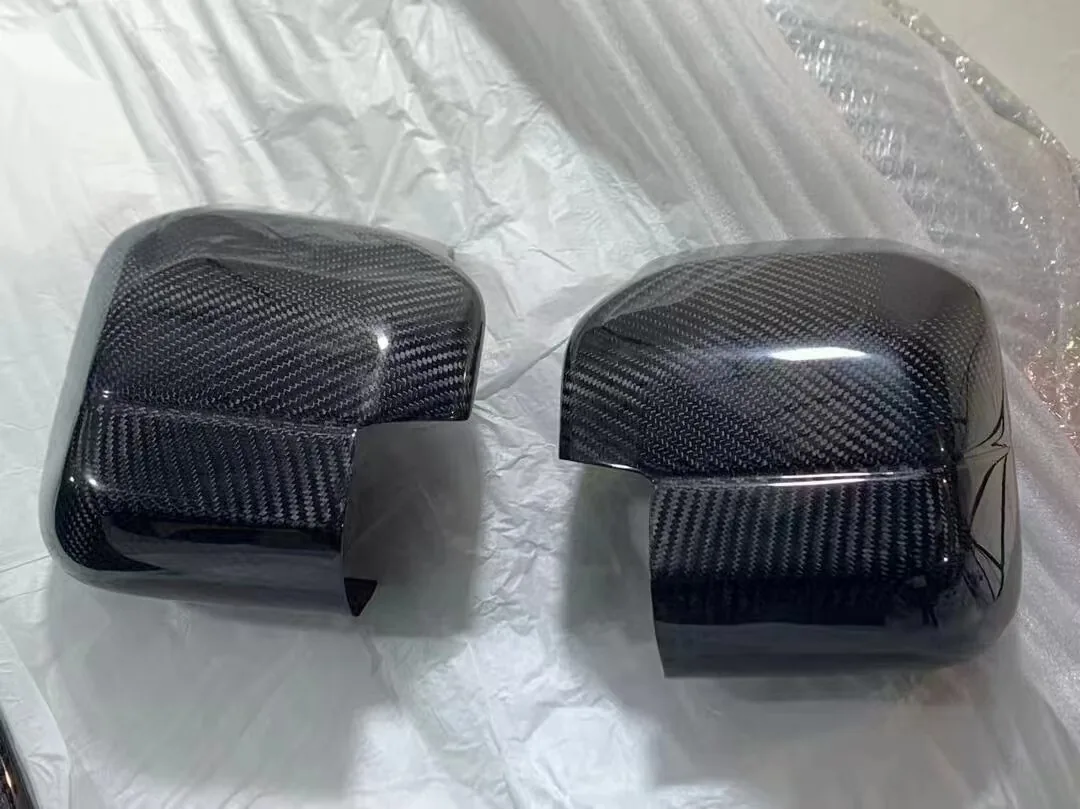
Install carbon fiber mirror caps in 15-20 minutes per side – no drilling, no adhesive.
- Direct clip-on replacement using factory mounting points
- Gloss, matte and forged carbon finishes
- Step-by-step installation with pro tips
- Fitment notes for Audi B9, BMW G8X, E60/E63 and Defender
What You Need
- Your new carbon fiber mirror caps
- A plastic trim tool or pry set
- A microfiber cloth
- Optional: painter’s tape to protect the paint around the mirror
Know Your Caps: Direct Fit vs. Forged Carbon
Every cap we make is a direct replacement built to factory specifications. It uses the original mounting points and clips on your mirror housing – there is nothing to cut, drill or glue. Depending on the product you can choose between standard 3K twill carbon (gloss or matte) and forged carbon with its marbled, random pattern.
One thing to check before ordering: if your car has lane-change assist or a blind-spot camera in the mirror housing, confirm the cap has the correct cutout for your model. When in doubt, send us your VIN or model details and we will confirm fitment within 24 hours.
Step-by-Step Installation
Step 1: Tilt the mirror glass
Tilt the mirror glass fully downward and inward to expose the retention clips behind the glass. This gives you access to the cap edge without removing the glass.
Step 2: Release the factory cap
Insert the plastic trim tool between the factory cap and the mirror housing, then work around the perimeter releasing each clip one at a time. Do not pull hard – clips release individually, and forcing them risks breaking a tab.
Pro tip: if a clip feels stuck, slide the trim tool further in and twist gently instead of pulling outward. Patience here saves you from cracked tabs.
Step 3: Remove the old cap
Once every clip is released, the cap slides forward and off the housing. Keep it in a safe place in case you ever want to return the car to stock.
Step 4: Fit the new carbon cap
Align the new cap with the mounting points and press firmly around the edges until each clip audibly engages. Work from the center outward so the clips seat evenly, then wipe the surface with a microfiber cloth.
Gloss, Matte or Forged?
| Finish | Look | Best for |
| Gloss carbon | Showroom depth, reflective | Matching factory gloss trim |
| Matte carbon | Understated, subtle | Hiding minor swirls, stealth builds |
| Forged carbon | Marbled, random pattern | Modern angular designs – Audi B9, BMW G8X |
All three use a UV-stable clear coat, so the finish will not yellow or cloud with sun exposure.
Fitment Notes by Brand
| Vehicle | Install time | Notes |
| Audi B9 / B9.5 (A4, A5, S4, S5) | ~15 min per side | Clip-on, no modification; forged option popular |
| BMW G8X, G20, E60/E63 | ~15-20 min per side | Factory clips, direct replacement |
| Land Rover Defender | ~15-20 min per side | Precision fit to factory specs, made to order |
Maintenance & Care
Real carbon with a clear coat needs minimal maintenance: wash with regular car shampoo, dry with a soft cloth, and avoid abrasive polishes or compounds. A ceramic coating or paint protection film will keep the gloss looking new for years.
Frequently Asked Questions
Do I need to remove the mirror glass? No – tilting the glass gives enough access to release the clips in most cases.
How long does production and shipping take? Caps are handcrafted to order; production takes approximately 10-15 business days and worldwide express shipping takes 3-7 business days with tracking.
What warranty do you offer? A 12-month warranty covers materials and workmanship, including delamination or clear-coat defects.
Find your model in the full carbon fiber mirror cap collection, or contact us to confirm fitment before ordering.